MAKE AND SELL - Makeup Bag Easy DIY

Are you looking for a make and sell DIY project? I have just the thing for you!

In this exciting blog tutorial, I will guide you through the process of making a trendy zipper pouch from scratch.

You can make a new design zipper pouch out of the ordinary. Of course, you can make it for yourself or as a gift.
So grab your supplies and embark on a creative journey to craft the perfect zipper pouch!
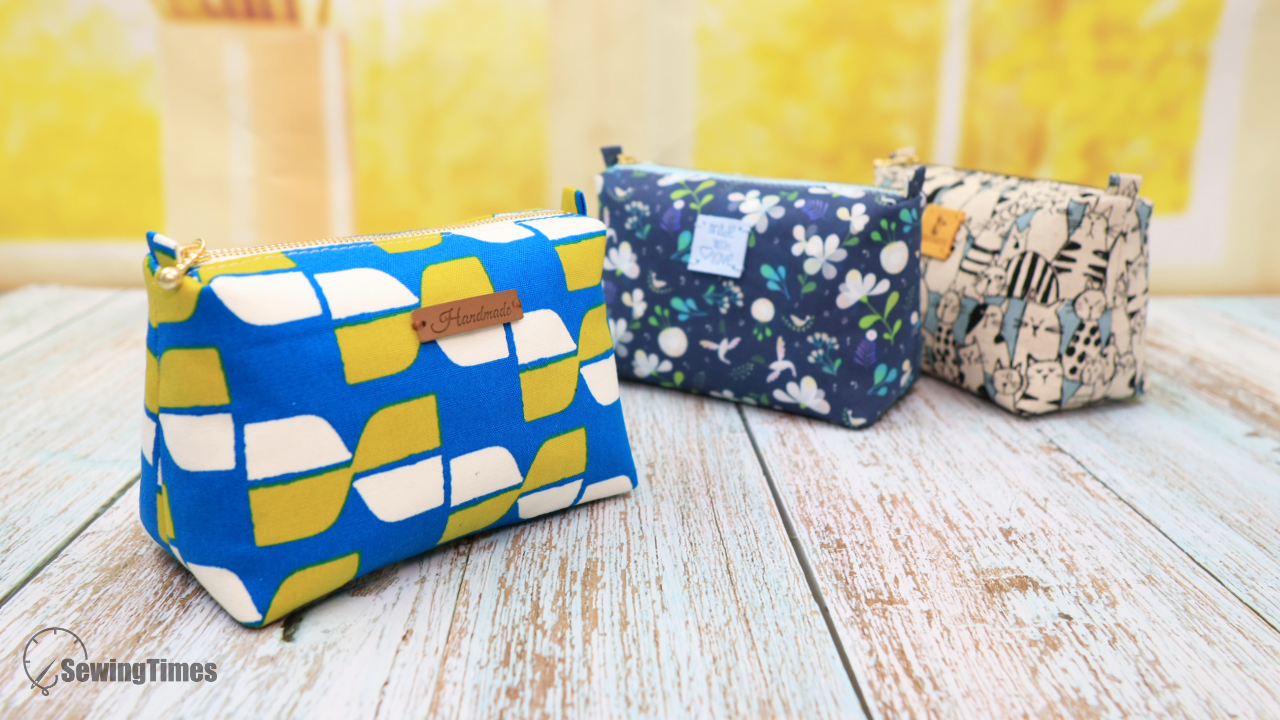
The finished measurements of this pouch are approximately
15㎝(6″) W × 10㎝(4″) H × 8㎝(3¼″) D.
CLICK HERE TO WATCH THE VIDEO TUTORIAL
You may watch the full video tutorial on my Youtube channel.
Share this video with a lot of people who need it.
Let's get started!!
② 25㎝ × 17.5㎝ (9⅞″ × 6⅞″) Outer layer
② 25㎝ × 17.5㎝ (9⅞″ × 6⅞″) Lining
② 23㎝ × 15.5㎝ (9″ × 6¼″) Fusible fleece
① 15㎝ (6″) Zipper


The pattern for making this can be drawn by yourself by watching my YouTube video.

With assembled lining right side up, center zipper right side facing up along top edge.
Pin in place.
Place the outer layer, right side down on top. Pin in place.
Using your zipper foot, sew along top edge using a 1cm seam allowance.

Open out, press pieces away from the zipper.

Attach the outer and lining to the other side of the zip the same way.

Open out, press pieces away from and top stitch on both 0.2cm away from the zipper.

Flip the layers so the outer bag pieces are right sides together, and the lining pieces are right sides together.
Sew with an allowance of about 1cm, leaving an opening on the lining.

Combine the seams so that a flat base is formed.
Sew with an allowance of about 1cm.

Sew the seam allowances at both ends of the zipper to the outer and lining together.
If you want to know more details, please check the video.

Turn out our pouch through the opening. And sew up this opening.

Put the lining inside and organize it.
YOU ARE FINISHED!
(❁´◡`❁)
Love this? Click here for more Bag & sewing tutorials


