Sew Your Own Handy Round Zipper Pouch - 3 sizes

Learn how to sew a small roung zipper pouch with this video tutorial.

This fabric pouch is short and cylindrical in shape, with a side zipper and a connection hook for easy carrying.
Perfect for storing small accessories or cosmetics, this project is both functional and stylish.

Our detailed instructions make it easy for anyone to follow along.
Create your own custom pouch with our step-by-step tutorial.

Ideal for adding a personal touch to your accessories!

The finished measurements of this pouch are approximately
9㎝(3⅝″) Diameter / 6㎝(2⅜″) Height
CLICK HERE TO WATCH THE VIDEO TUTORIAL
You may watch the full video tutorial on my Youtube channel.
Share this video with a lot of people who need it.
Let's get started!!
< Medium Size>
◆ Main Panel
② 11㎝ × 11㎝ (4⅜″ × 4⅜″) Outer layer
② 11㎝ × 11㎝ (4⅜″ × 4⅜″) Lining
② 9㎝ × 9㎝ (3⅝″ × 3⅝″) Fusible fleece
◆ Zipper Panel
① 26.5㎝ × 4㎝ (10½″ × 1⅝″) Outer layer
① 26.5㎝ × 4㎝ (10½″ × 1⅝″) Lining
① 24.5㎝ × 2㎝ (9¾″ × 3/4″) Fusible fleece
① 26.5㎝ × 5㎝ (10½″ × 2″) Outer layer
① 26.5㎝ × 5㎝ (10½″ × 2″) Lining
① 24.5㎝ × 3㎝ (9¾″ × 1¼″) Fusible fleece
◆ Back Panel
① 6㎝ × 8㎝ (2⅜″ × 3¼″) Outer layer
① 6㎝ × 8㎝ (2⅜″ × 3¼″) Lining
① 4㎝ × 6㎝ (1⅝″ × 2⅜″) Fusible fleece
◆ Others
① 26.5㎝(10½″) Zipper
① 1.5㎝ (5/8″) wide Swivel Snap
① 6㎝ × 5㎝ (2⅜″ × 2″) Outer layer
① 4㎝(1⅝″) wide bias tape 80㎝(31½″)


Place the wrong sides together of the outer and lining and sew all the edges.

With assembled lining right side up, center zipper right side facing up along top edge.
Place the outer layer, right side down on top. Pin in place.
Using your zipper foot, sew along top edge using a 1㎝(3/8″) seam allowance.

Open out, press pieces away from the zipper.
Attach the outer and lining to the other side of the zip the same way.

Open out, press pieces away from and top stitch on both 0.2cm away from the zipper.

Align the sides of the zipper panel to theouter layer and lining of the back panel.
Sew along sides using a 1㎝(3/8″) seam allowance.

Place only the outer layer of back panel on the other side of the zipper panel and sew.

Fold the lining of the back panel inward by 1㎝(3/8″).
Place on the other side of the zipper panel and sew.

Place the right side of bias tape on the top and bottom edges of the zipper panel and sew.

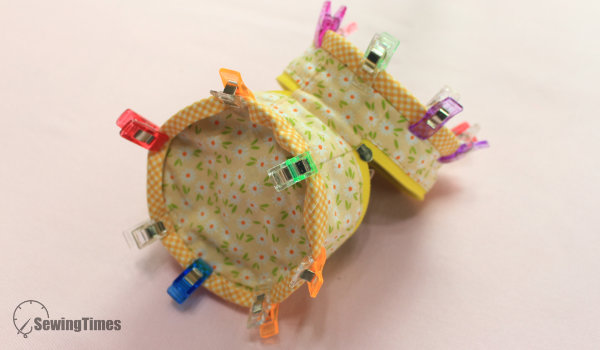
Do this by marking the quarter of your bottom panel and the quarter of your zipper panel.
Now, using your quarter marks, start pining the bottom of your zipper panel around the perimeter of your bottom.
Sew all the edges with an allowance of about 1㎝(3/8″).

Use the same process to sew the top panel to the other side of the zipper panel.
Fold the bias of the zipper panel twice.
Cover the seam allowance and sew.

Turn right side out.
You are finished!!!
๑◕‿‿◕๑
RELATED STORIES