Innovative Inside Pocket Design for Your Next DIY Pouch Bag

Elevate your sewing skills with our latest post on creating a pouch bag featuring an innovative inside pocket design.

This tutorial breaks down the process, making it simple for sewers of all levels.

Not only will you learn how to add a zipper and handle, but you'll also discover a new way to construct an inside pocket.

Whether you're a hobbyist or a pro, this guide is a creative addition to your sewing repertoire.

The finished measurements of this pouch are approximately
27㎝(10¾″) W × 12.5㎝(5″) H × 10㎝(4″) D.
CLICK HERE TO WATCH THE VIDEO TUTORIAL
You may watch the full video tutorial on my Youtube channel.
Share this video with a lot of people who need it.
Let's get started!!
◎ Main Panel
① 29㎝ × 37㎝ (11½″ × 14⅝″) Outer layer
① 29㎝ × 37㎝ (11½″ × 14⅝″) Lining
① 27㎝ × 35㎝ (10¾″ × 13¾″) Fusible fleece
◎ Zipper Panel
② 52㎝ × 6.5㎝ (20½″ × 2⅝″) Outer layer
② 52㎝ × 6.5㎝ (20½″ × 2⅝″) Lining
② 50㎝ × 4.5㎝ (19¾″ × 1¾″) Fusible fleece
◎ Inside Pocket
② 20㎝ × 21㎝ (8″ × 8¼″) Outer layer
◎ Others
① 50㎝ (19¾″) Zipper
① 4㎝(1⅝″) wide bias tape 160㎝(63¼″)
② 2.5㎝(1″) Wide Webbing Strap 33㎝(13″)
② Zipper Tab 3㎝ × 5㎝ (1¼″ × 2″)


Round cut 4 corners of the main panel as the video.

Place and sew the handles 11㎝(4⅜″) interval.

Place the wrong sides together of the pocket panels.
Place the bias tape and sew with an allowance of about 1㎝(3/8″).

Fold the bias tape twice and sew.

Fold up the bottom part.
Make the total length 12.5㎝(5″).
Place the bias on both sides and sew.

Fold the bias tape twice and sew.

Place the inner pocket on the right side of the lining and sew only the top.

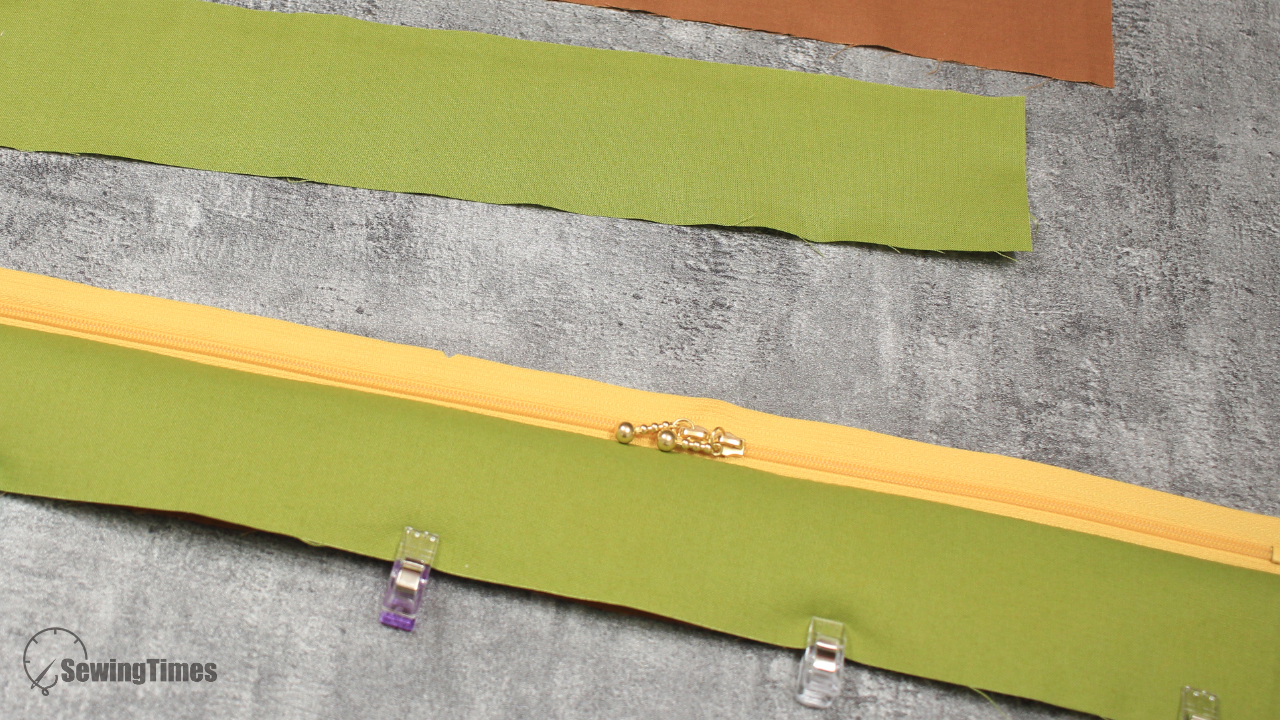
With assembled outer layer right side up, center zipper right side facing down along top edge.
Place the lining, right side down on top. Pin in place.
Using your zipper foot, sew along top edge using a 1㎝(3/8″) seam allowance.
Open out, press pieces away from the zipper.

Attach the outer and lining to the other side of the zip the same way.

Open out, press pieces away from and top stitch on both 0.3cm away from the zipper.

Place the zipper panel right sides together on the center of the outer layer.

Place the lining on top and sew only 10㎝(4″) where the main panel and zipper panel overlap.

Turn right side out.

Do this by marking the center of zipper panel and the center of main panel.
Now, using the center marks, start pining the zipper panel around the perimeter of the main panel.
Sew all the edges with an allowance of about 1㎝(3/8″).

Sewing with bias tape on the seam allowance.

Fold the bias tape twice and sew.

Turn right side out.
(●'◡'●)
RELATED POSTS:


