Beginner's Guide:Sewing a Lined Zipper Pouch from a Single Piece of Fabric

Welcome to my blog, where we're excited to share a beginner-friendly tutorial on creating a lined zipper pouch using just a single piece of fabric.

If you've been wanting to dip your toes into the world of sewing or are searching for a practical and enjoyable DIY project, you've come to the right place.

In this step-by-step guide, I'll walk you through the entire process, providing clear instructions and helpful tips along the way.
Get ready to unleash your creativity and craft a stylish and functional zipper pouch that you'll be proud to show off. Let's get started!
The finished measurements of this pouch are approximately
22㎝(8¾″) W × 13.5㎝(5⅜″) H.
CLICK HERE TO WATCH THE VIDEO TUTORIAL
You may watch the full video tutorial on my Youtube channel.
Share this video with a lot of people who need it.
Let's get started!!
Main Fabric
① 25㎝ × 58㎝ (10″ × 23″) Outer layer
Zipper
① 20㎝ (8″)


Bend zipper ends in place and sew (at both the pull side and end stop side).

Mark the center of the zipper.

Align the center of the zipper with the center of the fabric.
Using your zipper foot, sew along top edge using a 0.5cm seam allowance.

Fold the fabric in half. Sew along top edge using a 0.7cm seam allowance.

Open out, press pieces away from the zipper. Attach the end of the fabric to the other side of the zip the same way. Sew with an allowance of about 0.5cm.

Place the end of the fabric, right side down on top. Pin in place. Sew with an allowance of about 0.7cm.

Turn right side out.

Open out, press pieces away from and top stitch on both 2~3mm away from the zipper.

Align and pining the sides.
Sew on both sides with 0.5cm seam allowance.

Turn wrong side out.
Sew on both sides with 1cm seam allowance.

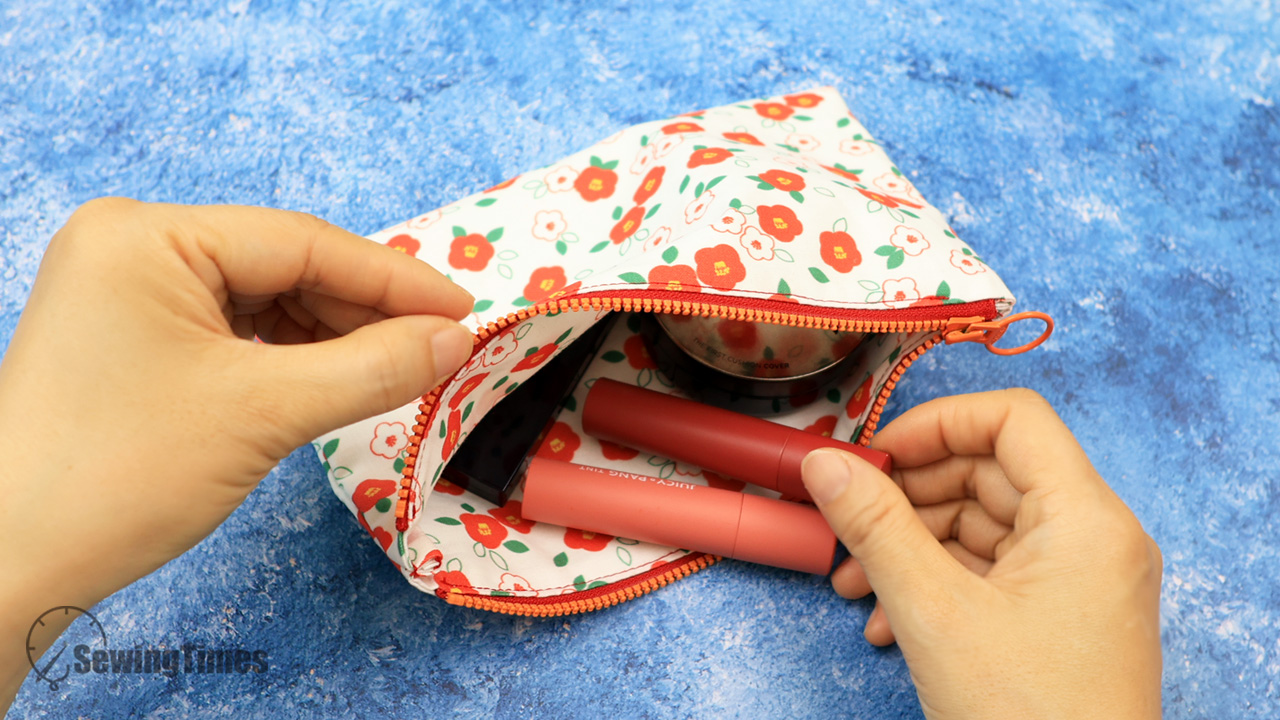
Turn out our zipper pouch, and the cosmetic bag is ready!
Love this? Click here for more Bag & Wallet sewing tutorials
(❁´◡`❁)


