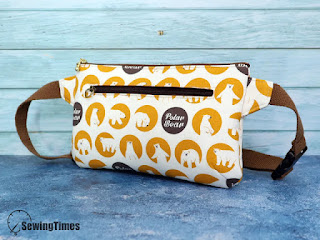
DIY Travel Duffle Bag with Zipper Pockets

Looking for a stylish and functional bag for your next trip or gym visit?

This handmade travel duffle bag has spacious compartments, front and side zipper pockets, and adjustable straps to suit any situation.

Even beginners can sew it with ease and enjoy the process!


The finished measurements of this bag are approximately
50㎝(19¾″) W × 26㎝(10¼″) H × 22㎝(8¾″) D.
You may watch the full video tutorial on my Youtube channel.
Share this video with a lot of people who need it.
Let's get started!!
◆ Main Panel
② 52㎝ × 30.5㎝ (20½″ × 12″) Outer layer
② 52㎝ × 30.5㎝ (20½″ × 12″) Lining
◆ Side panel
② 24㎝ × 28㎝ (9½″ × 11⅛″) Outer layer
② 24㎝ × 28㎝ (9½″ × 11⅛″) Lining
◆ Bottom panel
① 52㎝ × 30㎝ (20½″ × 11⅞″) Outer layer
① 52㎝ × 30㎝ (20½″ × 11⅞″)) Lining
◆ Front pocket
① 25㎝ × 17.5㎝ (9⅞″ × 6⅞″) Outer layer
① 25㎝ × 17.5㎝ (9⅞″ × 6⅞″) Lining
◆ Zipper pocket
① 18㎝ × 36㎝ (7⅛″ × 14⅛″) Lining
◆ Others
① 50㎝ (19¾″) Zipper
① 15㎝ (6″) Zipper
① 3㎝ (1¼″) Wide Webbing Strap 340㎝ (134½″)
② 3㎝ (1¼″) Wide Rectangle Ring
① 3㎝ (1¼″) Wide Triglides Slide
① 4㎝ (1⅝″) Wide bias tape 220㎝ (87″)

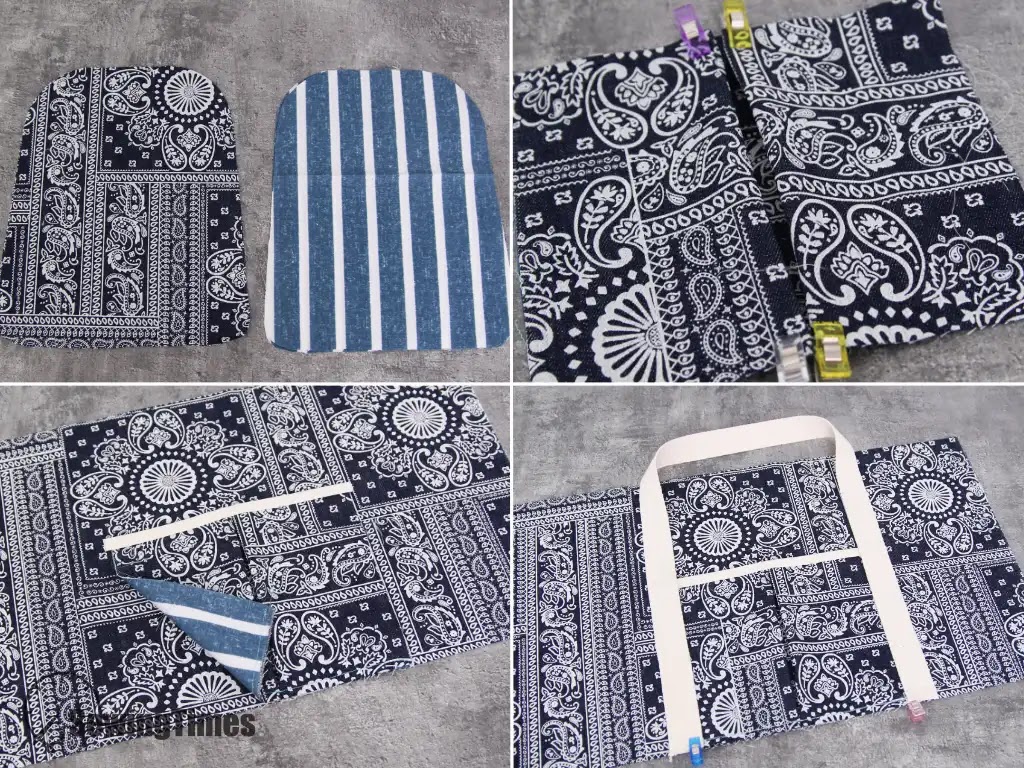
Cut the side panel into the shape of the pattern.
Place the front pocket on the right side of the main panel and sew.
Place and sew the handles 19㎝(7½″) apart.

Place the piece of fabric for your pocket lining face down, right sides together over your outer piece.
Draw a long rectangular box which the teeth of your zipper will fit inside.
Then stitch exactly around the rectangle you just drew.
Draw another line through the center of the rectangle right across.
At each end, draw a triangle from the corners to that center line.
Carefully cut along the center line until your reach the triangle, and then snip into the corners, close to, but not through, your line of stitching.
Turn the lining fabric through the hole you just cut and out to the back.
Press the opening neatly.
Time now to place our zipper.
Sewing with the front upper most, stitch around the opening to secure the zipper in place.
Fold up the pocket lining and pin along the 3 open sides.
Stitch the 3 sides of the pocket lining , making sure to only sew the lining, not through the outer fabric as well.

Place the wrong sides together of the outer and lining of the side panel and sew all the edges.

With assembled lining right side up, center zipper right side facing up along top edge.
Place the outer layer, right side down on top. Pin in place.
Using your zipper foot, sew along top edge using a 1㎝(3/8″) seam allowance.
Attach the outer and lining to the other side of the zip the same way.
Open out, press pieces away from and top stitch on both 3㎜ (1/8″) away from the zipper.

Place the right sides together of the main panel and bottom panel and sew with an allowance of about 1㎝(3/8″).

Place the right sides together of the main panel and side panel and sew with an allowance of about 1㎝(3/8″).


The bias tape is placed and pinned on the seam, stitch up to the end.
Stitch from the right side seam into seam, or sew manually from the backside.

Attach the Strap to the Bag.

You are finished!!!
RELATED POSTS :

.jpg)