With assembled lining right side up, center 20㎝(8″) zipper right side facing up along top edge.
Place the outer layer, right side down on top. Pin in place.
Using your zipper foot, sew along top edge using a 1㎝(3/8″) seam allowance.
Open out, press pieces away from the zipper.
Attach the outer and lining to the other side of the zip the same way.
Open out, press pieces away from and top stitch on both 3㎜ (1/8″) away from the zipper.
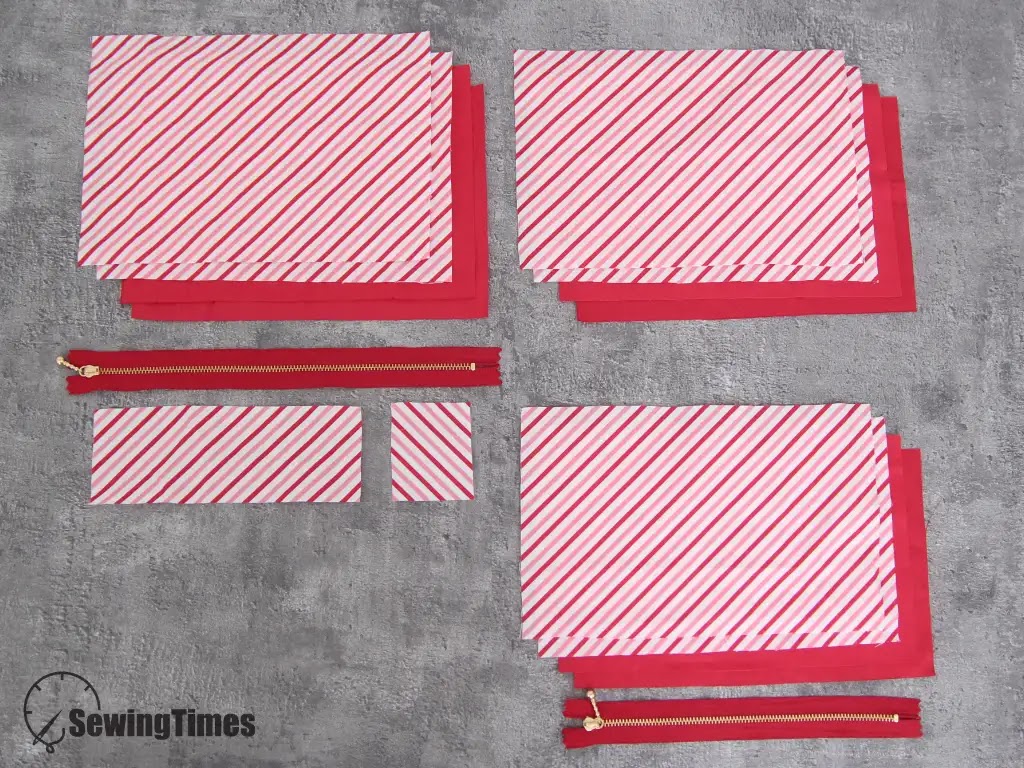
Preparation the Inside panel
Place the right sides together of the outer and lining and sew the top with an allowance of about 1㎝(3/8″). Open out, press pieces away from and top stitch on 3㎜ (1/8″) away from the top.
Assemble the Zipper pocket and Inside panel
Place the outer layer of the zipper pocket and the outer layer of the inside panel face each other, and draw a line 4㎝(1⅝″) from both sides and the bottom.
Place the right sides together of the zipper pocket outer layer and inside panel outer layer.
Sew the zipper pocket and the inside panel together along that line.
Fold the inside panel inward and secure it with pins.
Flip the layers so the zipper pocket outer layer pieces are right sides together, and the lining pieces are right sides together.
Sew with an allowance of about 1㎝(3/8″), leaving an opening.
Turn it right side out by pulling the fabric through the opening.
And sew up this opening.
Attach the Zipper to the Main panel
Place and sew the handle 3 inches apart to the main panel.
With assembled lining right side up, center 25㎝(9⅞″) zipper right side facing up along top edge.
Place the outer layer, right side down on top. Pin in place.
Using your zipper foot, sew along top edge using a 1㎝(3/8″) seam allowance.
Open out, press pieces away from the zipper.
Attach the outer and lining to the other side of the zip the same way.
Open out, press pieces away from and top stitch on both 3㎜ (1/8″) away from the zipper.
Assemble the Main panel and Inside panel
Fold the zipper pocket and one side of the inside panel inward and secure with pins.
Place the right sides together of the main panel and inside the panel that is not folded.
Sew with an allowance of about 1㎝(3/8″), leaving an opening.
Turn it right side out by pulling the fabric through the opening. And sew up this opening.
Use the same process to sew the other inside panel and the main panel.