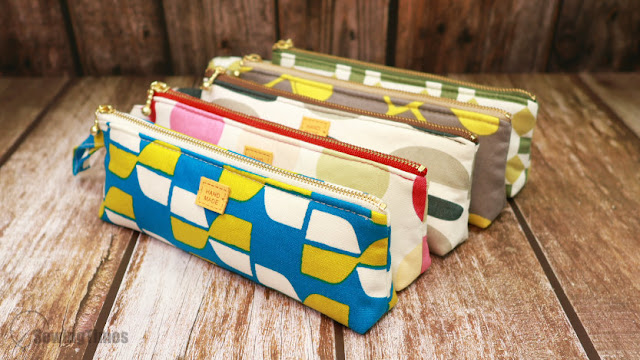
Create a DIY Pencil Case in 10 Minutes Using Fabric Scraps and a Zipper
Transform your leftover fabric scraps into something useful and stylish with this quick and easy pencil case tutorial.
In just 10 minutes, you can create a personalized pouch by following simple steps—drawing the pattern, cutting the fabric, attaching the zipper, and finishing the base.
This project is perfect for beginners and makes an excellent handmade gift for friends and family.
Why not make a few and spread the joy?
The finished measurements of this pouch are approximately
21㎝(8¼″) W × 7㎝(2¾″) H × 3㎝(1¼″) D.
CLICK HERE TO WATCH THE VIDEO TUTORIAL
You may watch the full video tutorial on my Youtube channel.
Share this video with a lot of people who need it.
Let's get started!!
◆ Main Panel
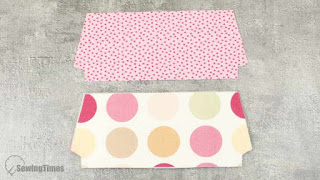
② 26.5㎝ × 10.5㎝ (10½″ × 4¼″) Outer layer
② 26.5㎝ × 10.5㎝ (10½″ × 4¼″) Lining
② 26.5㎝ × 10.5㎝ (10½″ × 4¼″) Fusible fleece
◆ Others
① 17㎝ × 4㎝ (6¾″ × 1⅝″) Outer layer
① 20㎝ (8″) Zipper
Fold the strip piece in half, wrong sides together to make a crease.
Then fold each edge in toward the middle and press.
Stitch along both long edges of the strip, 0.2cm(1/8'') from the edge.
Fold in half to make your strip.
Place the strip on the right side of the outer layer and sew.
Bend zipper ends in place and sew (at both the pull side and end stop side).
With assembled lining right side up, center zipper right side facing up along top edge. Place the outer layer, right side down on top. Pin in place. Using your zipper foot, sew along top edge using a 1㎝(3/8″) seam allowance.
Open out, press pieces away from the zipper.
Attach the outer and lining to the other side of the zip the same way.
Open out, press pieces away from and top stitch on both 0.2cm(1/8”) away from the zipper.
Flip the layers so the outer bag pieces are right sides together, and the lining pieces are right sides together.
Sew the sides and bottom with an allowance of about 1㎝(3/8″), leaving an opening on the lining.
Combine the seams so that a flat base is formed.
Sew with an allowance of about 1㎝(3/8″).
Turn it right side out by pulling the fabric through the opening. And sew up this opening.
You are finished!!!
RELATED STORIES


