Step-by-Step Guide to Making an Adorable Little Girl's Purse - Download Our Free Pattern Today!

If you're looking for a fun and easy sewing project, making an adorable little girl's purse is a great option.

Not only is it a practical accessory for any little girl to have, but it's also a great way to express creativity and individuality.

In this step-by-step guide, we'll show you how to make a simple yet cute little girl's purse, and even provide a free downloadable pattern!

The finished measurements of this pouch are approximately
15㎝(6″) W × 12.5㎝(5″) H.
You may watch the full video tutorial on my Youtube channel.
Share this video with a lot of people who need it.
Let's get started!!
Main Fabric
② 17㎝ × 14.5㎝ (6¾″ × 5¾″) Outer layer
② 17㎝ × 14.5㎝ (6¾″ × 5¾″) Lining
② 15㎝ × 12.5㎝ (6″ × 5″) Fusible fleece
Flap Fabric
① 13㎝ × 11㎝ (5⅛″ × 4⅜″) Outer layer
① 13㎝ × 11㎝ (5⅛″ × 4⅜″) Lining
① 11㎝ × 9㎝ (4⅜″ × 3⅝″) Fusible fleece
Strap Fabric
① 4㎝ × 75㎝ (1⅝″ × 29¾″) Outer layer
Ruffle Fabric
① 4㎝ × 80㎝ (1⅝″ × 31½″) Outer layer
Magnetic Buttons
① 3㎝ × 3㎝(1⅛″ × 1⅛″) Mid-weight woven fusible interfacing


Cut the interfacing into the shape of the pattern.
Attach the interfacing to the center of the wrong side of the fabric.
Cut by adding 1cm from the edge of the interfacing.

Fold the strap piece in half, wrong sides together to make a crease.
Then fold each edge in toward the middle and press.
Stitch along long edges of the strip, 0.3cm from the edge.

Place the strap on the right side of the back panel and sew.

Fold the ruffle fabric in half. Make creases with a basting stitch.

Place the ruffle on the right side of the flap and sew.

Place the right sides together of the outer and lining and sew with an allowance of about 1cm, leaving the top seam.

Turn it right side out through the top.
Press, pin and topstitch around the edges.
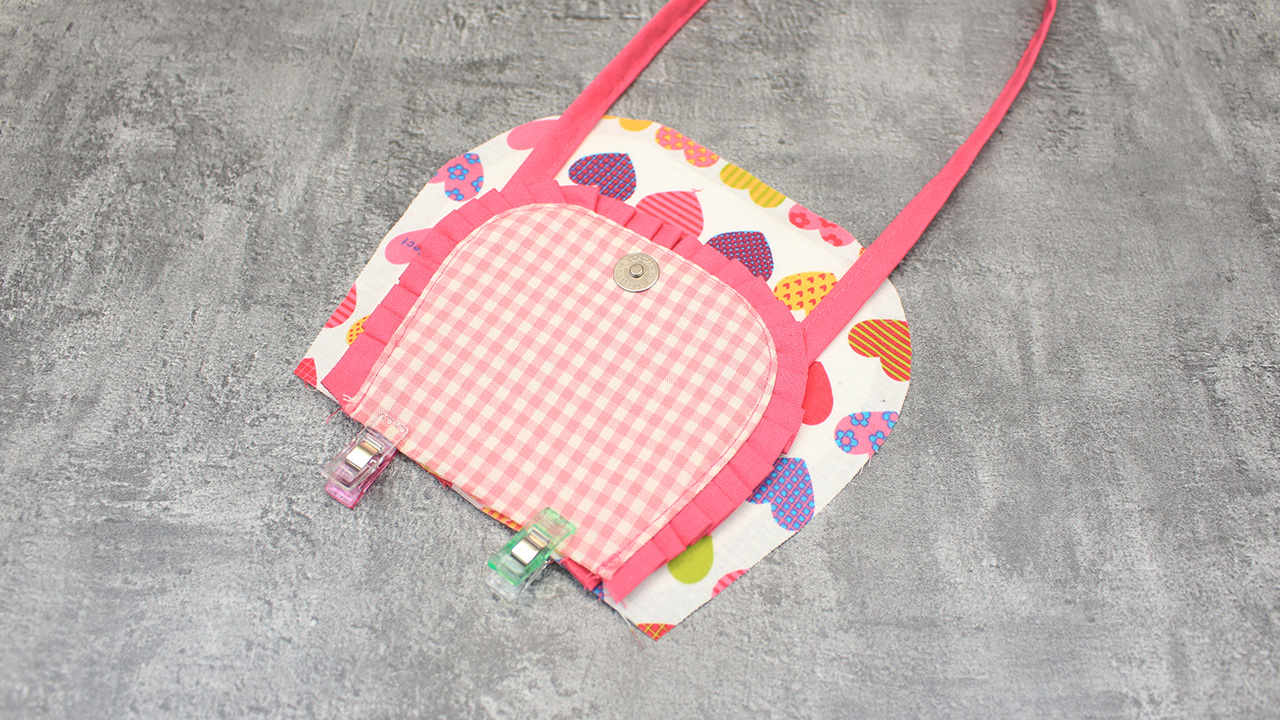
Place the flap on the right side of back panel and sew the top.


Place the right sides together of the outer and lining and sew with an allowance of about 1cm, leaving an opening on the lining.

The small snips will help the zip adapt to the curved edge of the pouch.

Turn the outer layer the right side out. Put the outer into the lining.

Sew all the way around of the bag entrance.

Turn out our purse through the hole that we left not stitched.
After this, sew up this hole.

Topstitch all the way around of the top of the bag entrance.
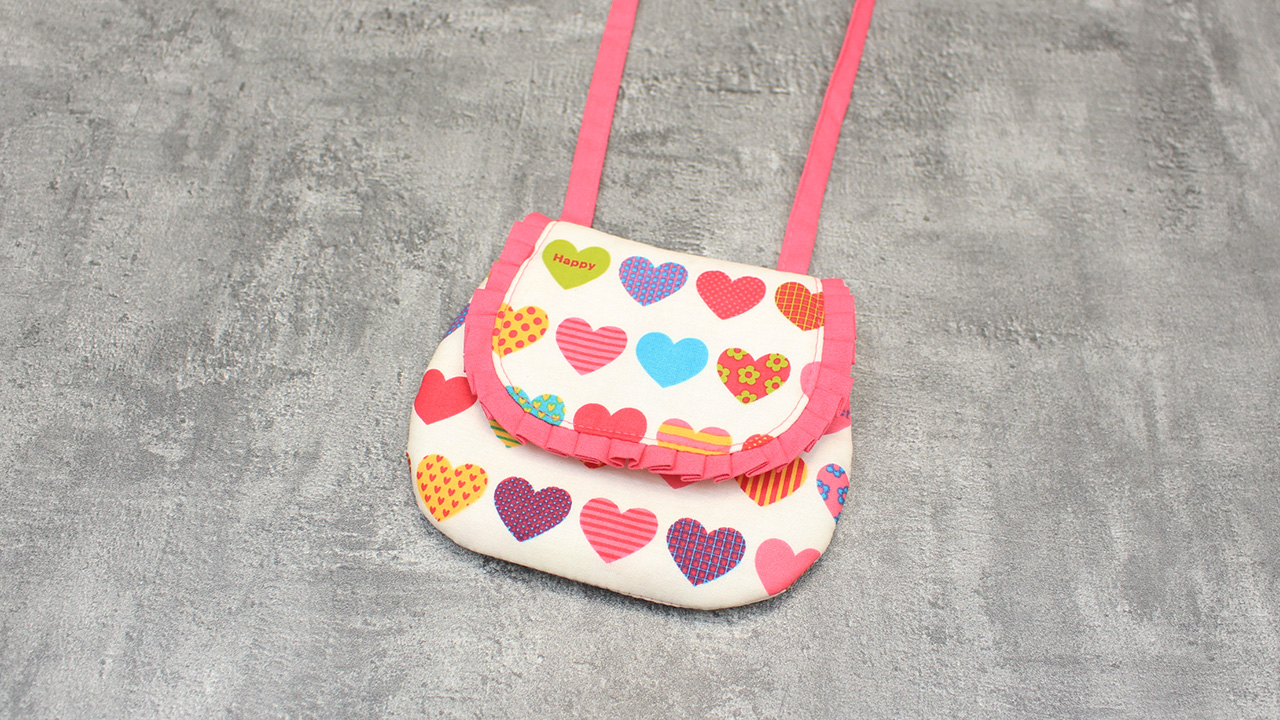
Congratulations, you've just made an adorable little girl's purse! Not only is it a fun project to make, but it's also a great way to teach your little one about sewing and creativity.


