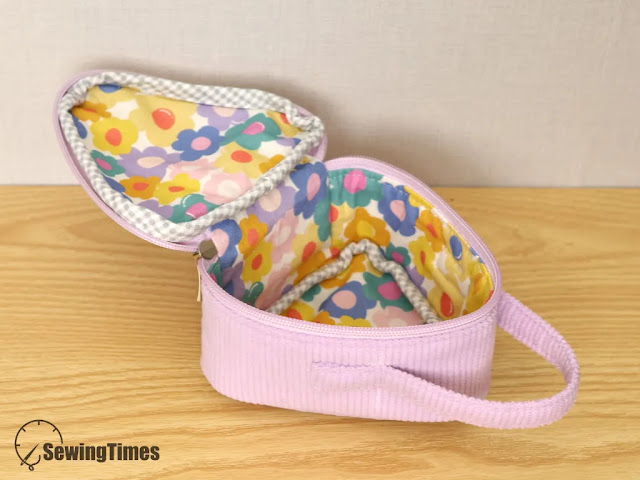
Making a Triangular Pouch|Challenging but Totally Worth It!
This time, I tried making a small triangular pouch using a beautiful violet corduroy fabric.
The shape and the zipper might feel a bit tricky for beginners, but don’t worry—just take it step by step.
Once finished, it turns into a stylish and practical pouch that’s great for cosmetics or everyday use.
Even if it's a bit of a challenge, the satisfaction of completing it makes it all worthwhile!
The finished measurements of this pouch are approximately
14㎝(5⅝″) W × 12.5㎝(5″) H × 7㎝(2¾″) D.
You may watch the full video tutorial on my Youtube channel.
Share this video with a lot of people who need it.
Let's get started!!
◆ Main Panel
② 16㎝ × 14.5㎝ (6⅜″ × 5¾″) Outer layer
② 16㎝ × 14.5㎝ (6⅜″ × 5¾″) Lining
② 14㎝ × 12.5㎝ (5⅝″ × 5″) Fusible fleece
◆ Zipper panel
① 35.5㎝ × 8㎝ (14⅛″ × 3¼″) Outer layer
① 35.5㎝ × 8㎝ (14⅛″ × 3¼″) Lining
① 33.5㎝ × 6㎝ (13¼″ × 2⅜″) Fusible fleece
◆ Bottom panel
① 11㎝ × 9㎝ (4⅜″ × 3⅝″) Outer layer
① 11㎝ × 9㎝ (4⅜″ × 3⅝″) Lining
① 9㎝ × 7㎝ (3⅝″ × 2¾″) Fusible fleece
◆ Handle
① 28㎝ × 6㎝ (11⅛″ × 2⅜″) Outer layer
◆ Others
① 35.5㎝ (14⅛″) Zipper
① 4㎝ (1⅝″) Wide bias tape 100㎝ (39½″)
Cut the interfacing into the shape of the pattern.
Fuse the fusible fleece, centered, to the wrong side.
Place the wrong sides together of the outer and lining and sew all the edges.
(Mark the top of the triangle.)
With assembled lining right side up, center zipper right side facing up along top edge.
Place the outer layer, right side down on top. Pin in place.
Using your zipper foot, sew along top edge using a 1㎝(3/8″) seam allowance.
Open out, press pieces away from and top stitch on 3㎜ (1/8″) away from the zipper.
Place and sew the handles 10㎝(4″) apart.
With assembled lining of the back panel right side up, center zipper panel right side facing up along side edge.
Place the outer layer of the back panel, right side down on top. Pin in place.
Sew along side edge using a 1㎝(3/8″) seam allowance.
Sew the outer layer and lining on the other side of the back panel
to the other side of the zipper panel to form a circle.
Do this by marking the center of the main panel and the half of your zipper panel.
Now, using your marks, start pining the bottom of your zipper panel around the perimeter of your bottom.
Sew all the edges with an allowance of about 1㎝(3/8″).
Place the bias tape right sides together with the seam and clip in place.
Sew in place. Press the seam toward the bias tape.
Fold the edge of the bias tape over the seam allowance.
Then fold over again flush with the seam.
Press in place.
Stitch along the folded edge of the bias tape.
You are finished!!!


