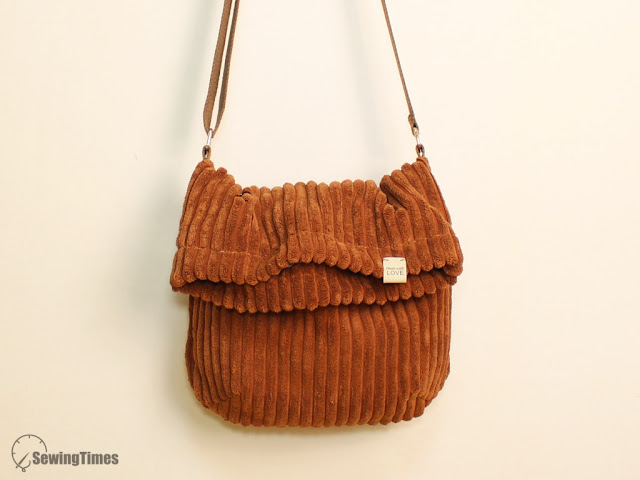
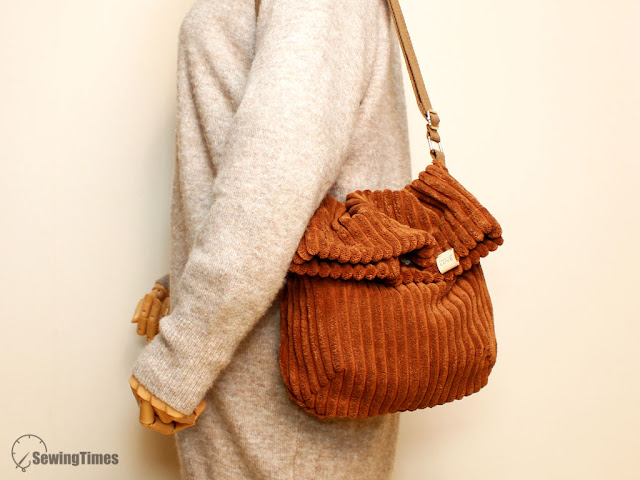
Make Your Own Foldover Shoulder Bag: Beginner-Friendly and Practical!
Want to dive into a fun and easy sewing project?
This DIY corduroy shoulder bag is a great choice for beginners. Featuring a simple design with a handy front pocket, it’s the perfect accessory for everyday use.
Whether you’re running errands or heading to a casual outing, this bag will quickly become your go-to.
Let’s create something amazing together!
The finished measurements of this bag are approximately
30㎝(11⅞″) W × 33㎝(13″) H.
You may watch the full video tutorial on my Youtube channel.
https://youtu.be/uyFcnmt3C2M
Share this video with a lot of people who need it.
Let's get started!!
◆ Main Panel
② 32㎝ × 47㎝ (12⅝″ × 18⅝″) Outer layer
② 32㎝ × 37㎝ (12⅝″ × 14⅝″) Lining
◆ Front pocket
① 32㎝ × 30㎝ (12⅝″ × 11⅞″) Outer layer
① 32㎝ × 24㎝ (12⅝″ × 9½″) Lining
◆ Others
① 2.5㎝ (1″) Wide Webbing Strap 160㎝ (63¼″)
① 2.5㎝ (1″) Wide Triglides Slide
② 2.5㎝ (1″) Wide Rectangle Ring
Mark the darts on the wrong side of the fabric.
Fold the dart, matching up the lines as best as you can.
Slowly sew along the marked line.
Place the right sides together of the outer and lining of the front pocket and sew the top with an allowance of about 1㎝(3/8″).
Open and fold half.
Place the front pocket on the right side of the main panel and sew.
Place the right sides together of the outer and lining of the main panel and sew the top with an allowance of about 1㎝(3/8″).
Open out the main panel.
Place the right sides together of the front and back panel and sew with an allowance of about 1㎝(3/8″), leaving an opening on the lining.
Turn it right side out by pulling the fabric through the opening. And sew up this opening.
Arrange the lining inside and press pieces away from and stitch on the top.
Attach the webbing strap.
You are finished!!


