How to make a Notebook Pen Holder

Don't go to an important meeting with a pen, business card, and cell phone!
Easy to put everything in this Planner pen pouch! Conveniently without worrying about losing it!
It is a Notebook Pen Holder that is perfect for meeting notebooks, diaries, and books.
Have fun and happy sewing!

DIY Planner Pen Pouch[sewingtimes]

The finished measurements of this pouch are approximately 10.5㎝(4¼″) W × 20㎝(8″) H
.

CLICK HERE TO WATCH THE VIDEO TUTORIAL
You may watch the full video tutorial on my Youtube channel.

Share this video with a lot of people who need it.
Let's get started!!
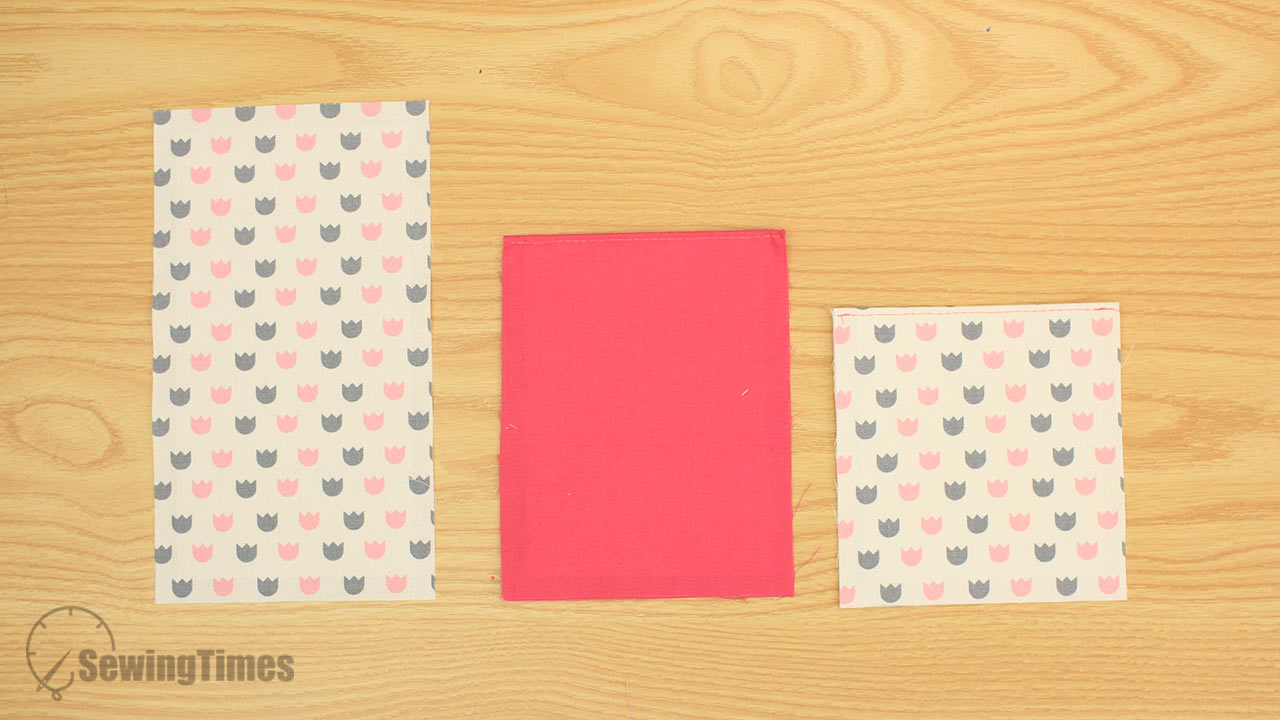
Outer layer ( fabric )
2 12.5㎝ × 22㎝(5″ × 8¾″)
1 12.5㎝ × 32㎝(5″ × 12¾″)
1 12.5㎝ × 26㎝(5″ × 10¼″)
Lining ( fabric )
2 12.5㎝ × 22㎝(5″ × 8¾″)
Interfacing (Mid-weight woven - Pellon SF-101 Shape Flex' or 'Vilene G700')
2 10.5㎝ × 20㎝(4¼″ × 8″)
1 10.5㎝ × 30㎝(4¼″ × 12″)
1 10.5㎝ × 24㎝(4¼″ × 9½″)
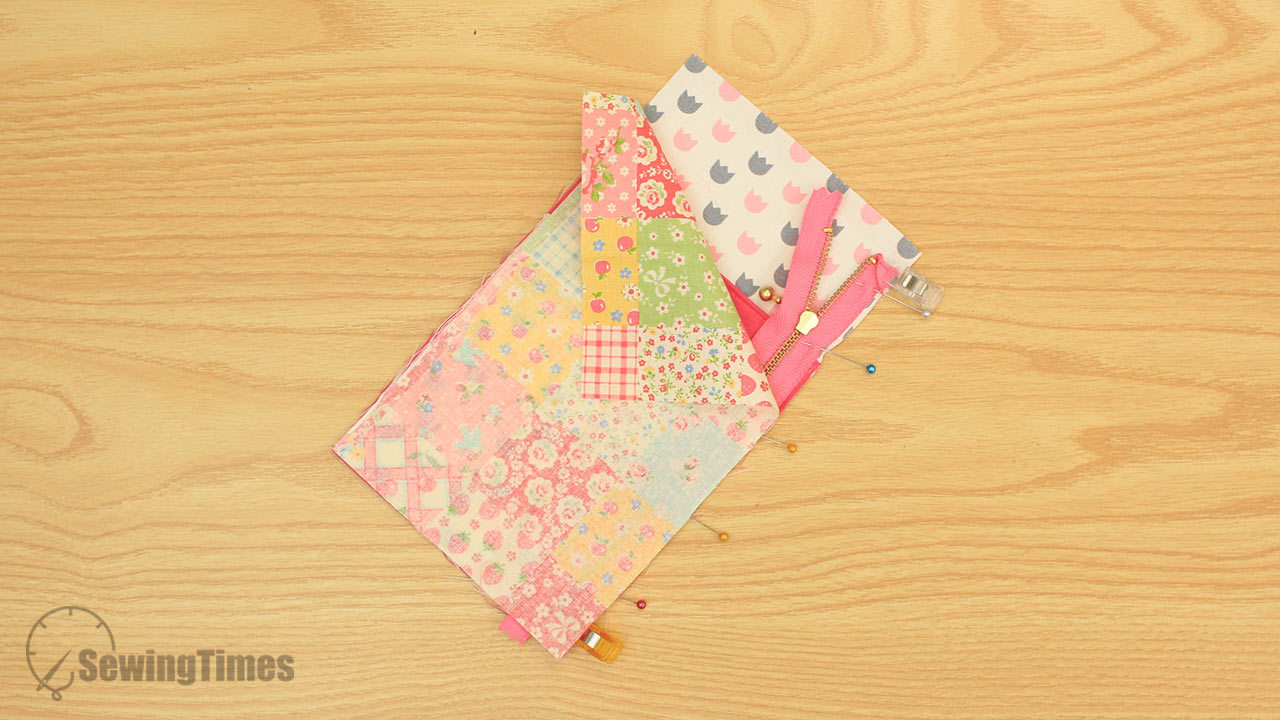
Zipper 20㎝(8″)
3㎝(1¼″) wide Elastic 22㎝ (8¾″)